I have a generic ultrasonic machine with a 10L tank. It's a little deeper (front to back) than the more popular 6.5L size. The tank size is 300x240x150 (in millimeters). This means there is normally unused space in front of the record holder.
This is an extension using common hardware parts to allow 2 albums to be cleaned at the same time, while having a couple inches of space between the vinyl records instead of the thickness of the plastic spacers like most people do.
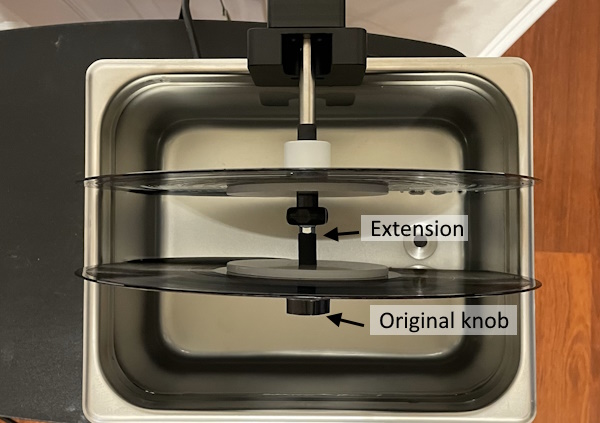
- 6.jpg (82.58 KiB) Viewed 53459 times
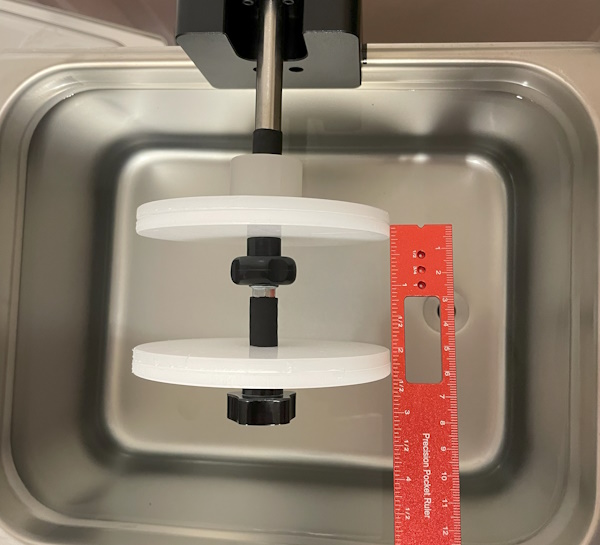
- 4.jpg (80.97 KiB) Viewed 53459 times
Parts list:
- M6 threaded knob, that is open on both ends.
- M6 nut, preferebly one with a large flange (like a whiz nut)
- M6 Threaded Rod or a bolt with the head cut off (use a Dremel cutoff wheel)
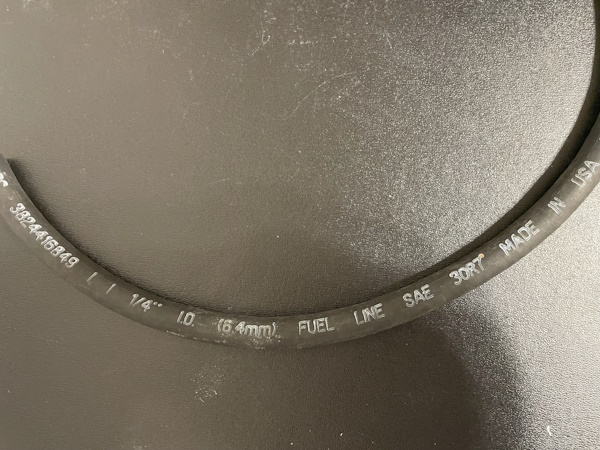
- 1/4" Rubber Fuel Line (used as spacers)
Threaded knob with open end
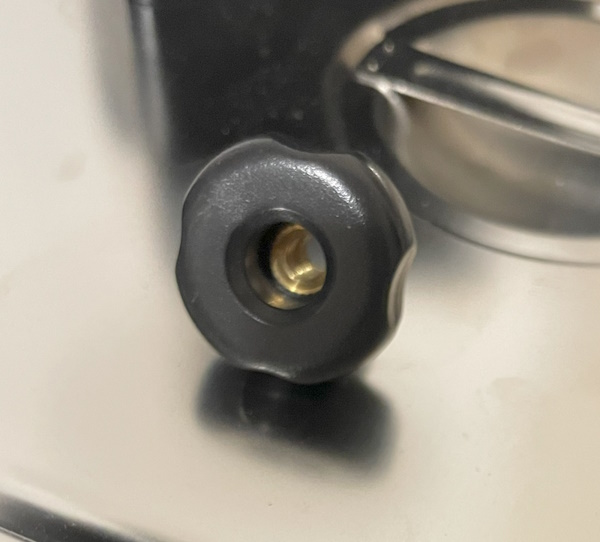
- 1.jpg (69.6 KiB) Viewed 53459 times
All parts put together
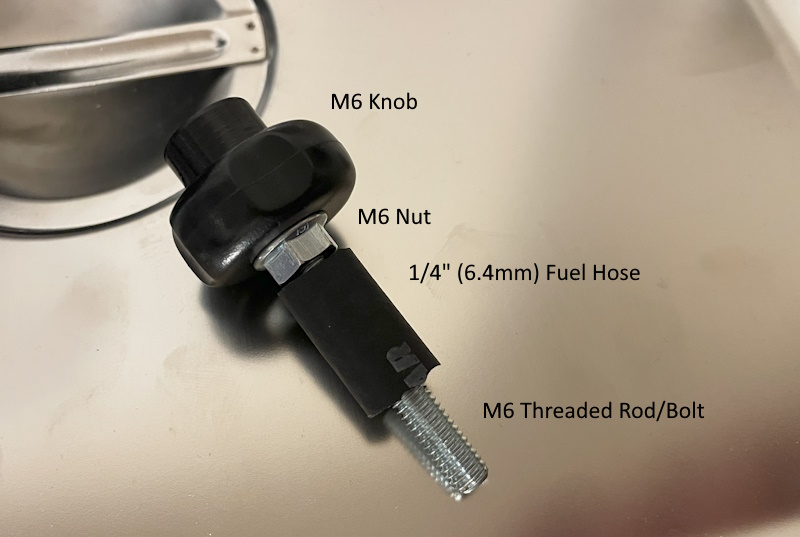
- 2.jpg (95.68 KiB) Viewed 53459 times
- 3.jpg (118.31 KiB) Viewed 53459 times
Thread the rod into the handle end of the knob. Don't thread it too far, just enough to get a good bite on the threads. Now tighten down the M6 nut down against the knob. It will probably use a 10mm wrench. Tighten it down good and tight. Then slide the piece of rubber hose over the thread. The length will depend on how long your threaded rod is. Put two white plastic label protector discs on the end and put the original knob on the end. Cut the hose to the length of rod still in the middle. Cut the rubber just a little longer than needed (like 1 or 2mm longer). This will let you compress the label protectors against the rubber and keep them from spinning on the threaded rod.
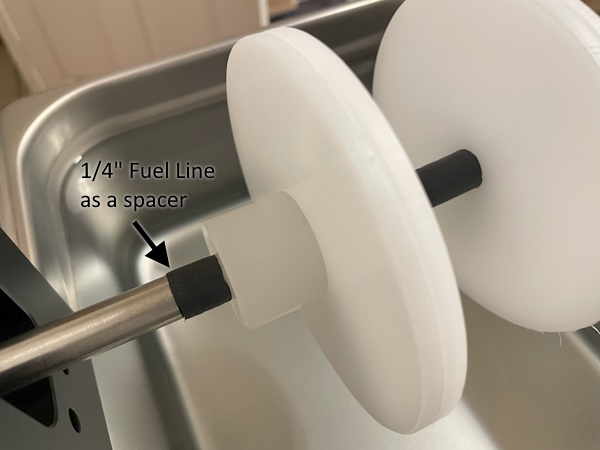
Use some of the 1/4" fuel line on the original unthreaded rod as a spacer to push the plastic label protectors closer to the end of the threaded rod, since you will now be using 2 of the plastic label protectors on the extension part. The rubber hose will be tight on the rod. Once you get it started, use of the plastic parts (spacer or protectors) to push against the rubber hose to get it seated. The rubber hose pieces will primarily act as spacers, but they will be a little spongy and will put some tension on the label protectors as the knobs are tightened down. This will keep things from coming loose.
- 5.jpg (53.01 KiB) Viewed 53459 times
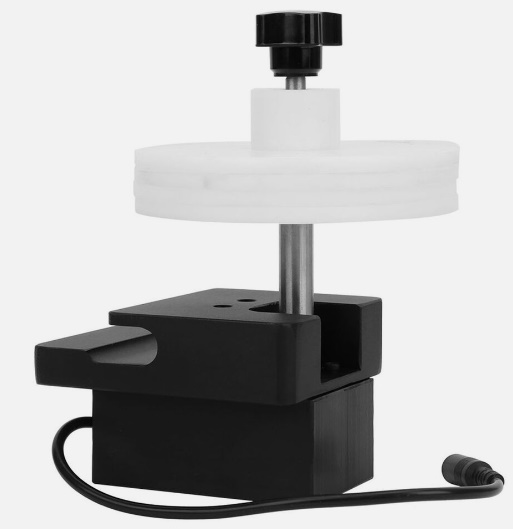
This is for ultrasonic record cleaning machines that use this style hub. Other units will probably be similar.
- 7.jpg (29.74 KiB) Viewed 53459 times
